Follow along as I learn 3d design — Ongoing Experiments — Follow along as I learn 3d design — Ongoing Experiments — Follow along as I learn 3d design — Ongoing Experiments —
Follow along as I learn 3d design — Ongoing Experiments — Follow along as I learn 3d design — Ongoing Experiments — Follow along as I learn 3d design — Ongoing Experiments —
Follow along as I learn 3d design — Ongoing Experiments — Follow along as I learn 3d design — Ongoing Experiments — Follow along as I learn 3d design — Ongoing Experiments —
Follow along as I learn 3d design — Ongoing Experiments — Follow along as I learn 3d design — Ongoing Experiments — Follow along as I learn 3d design — Ongoing Experiments —
About a year ago, I took the 3d for Designers Course by Devon Ko to learn 3d design. It was a brilliant starting place for understanding the fundamentals of 3d design and was focused specifically on Cinema 4d Lite, which is great because it comes as an add-on to Adobe After effects within the Adobe creative suite. Some of these techniques I used when creating the NTF Tout Specimen Zine.
The full Cinema 4d program is prohibitively expensive. So, after completing the course I decided, with some gentle persuasion from friends, to switch to Blender, an extremely high-quality open-source application. During the switch, I completed a load of tutorials on youtube to get used to Blender, but sadly haven’t followed up on them for a few months.
Now, I’m going to make a concerted effort to create a model a week.
Week 6: Iridescent Smilies (x2)
Not suggested by anyone this week. I just wanted to get shiny.
One of the main reasons I wanted to learn 3d was so I could create shiny and pretty things, with an element of realism to them.
The thing that drew me to iridescent colours was the fact that they vary so much depending on the lighting. Here are two experiments I created to see how the lighting affected the material in different situations.
Blender – Iridescent Material in Blender 2.8
There is a lot to learn regarding shiny surfaces. I especially want to look into how people achieve exaggerated glints and light streaks using Blender’s built-in compositing nodes.
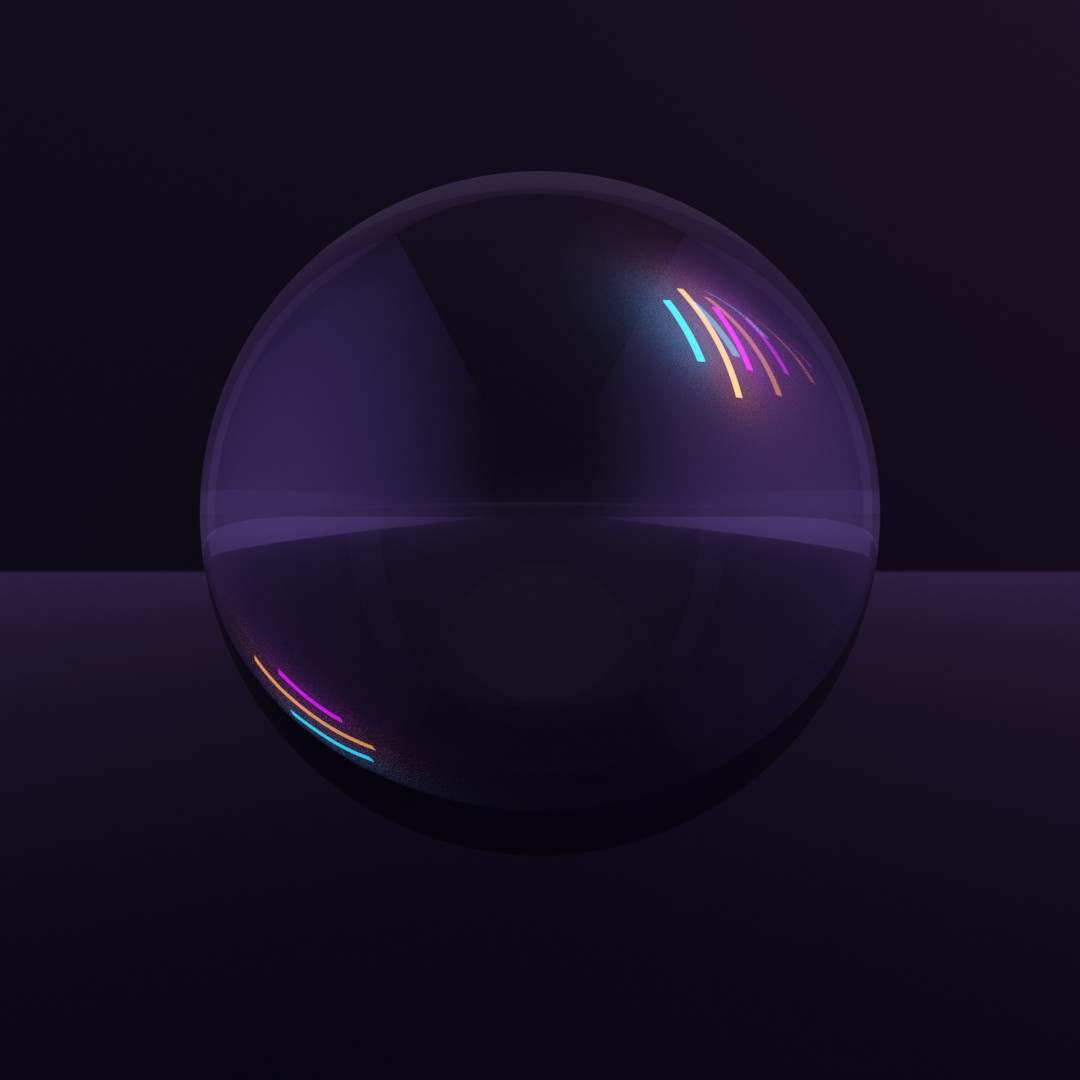
Week 5: Crystal Ball
Suggested by Mel Hinshaw
Making the crystal ball and using the glass shader wasn’t that difficult. The lighting in this instance was the tricky part. For the volumetric lighting I first did this tutorial by Kai. It helped me add depth to the lighting, the kind of lighting you might get when it’s a little misty or smokey.
How to create AMAZING gradients in Blender 2.8 Eevee | TutsByKai
The key takeaways from this 3d exercise was; lighting and dealing with very reflective surfaces are difficult. There’s definitely room for improvement, here.
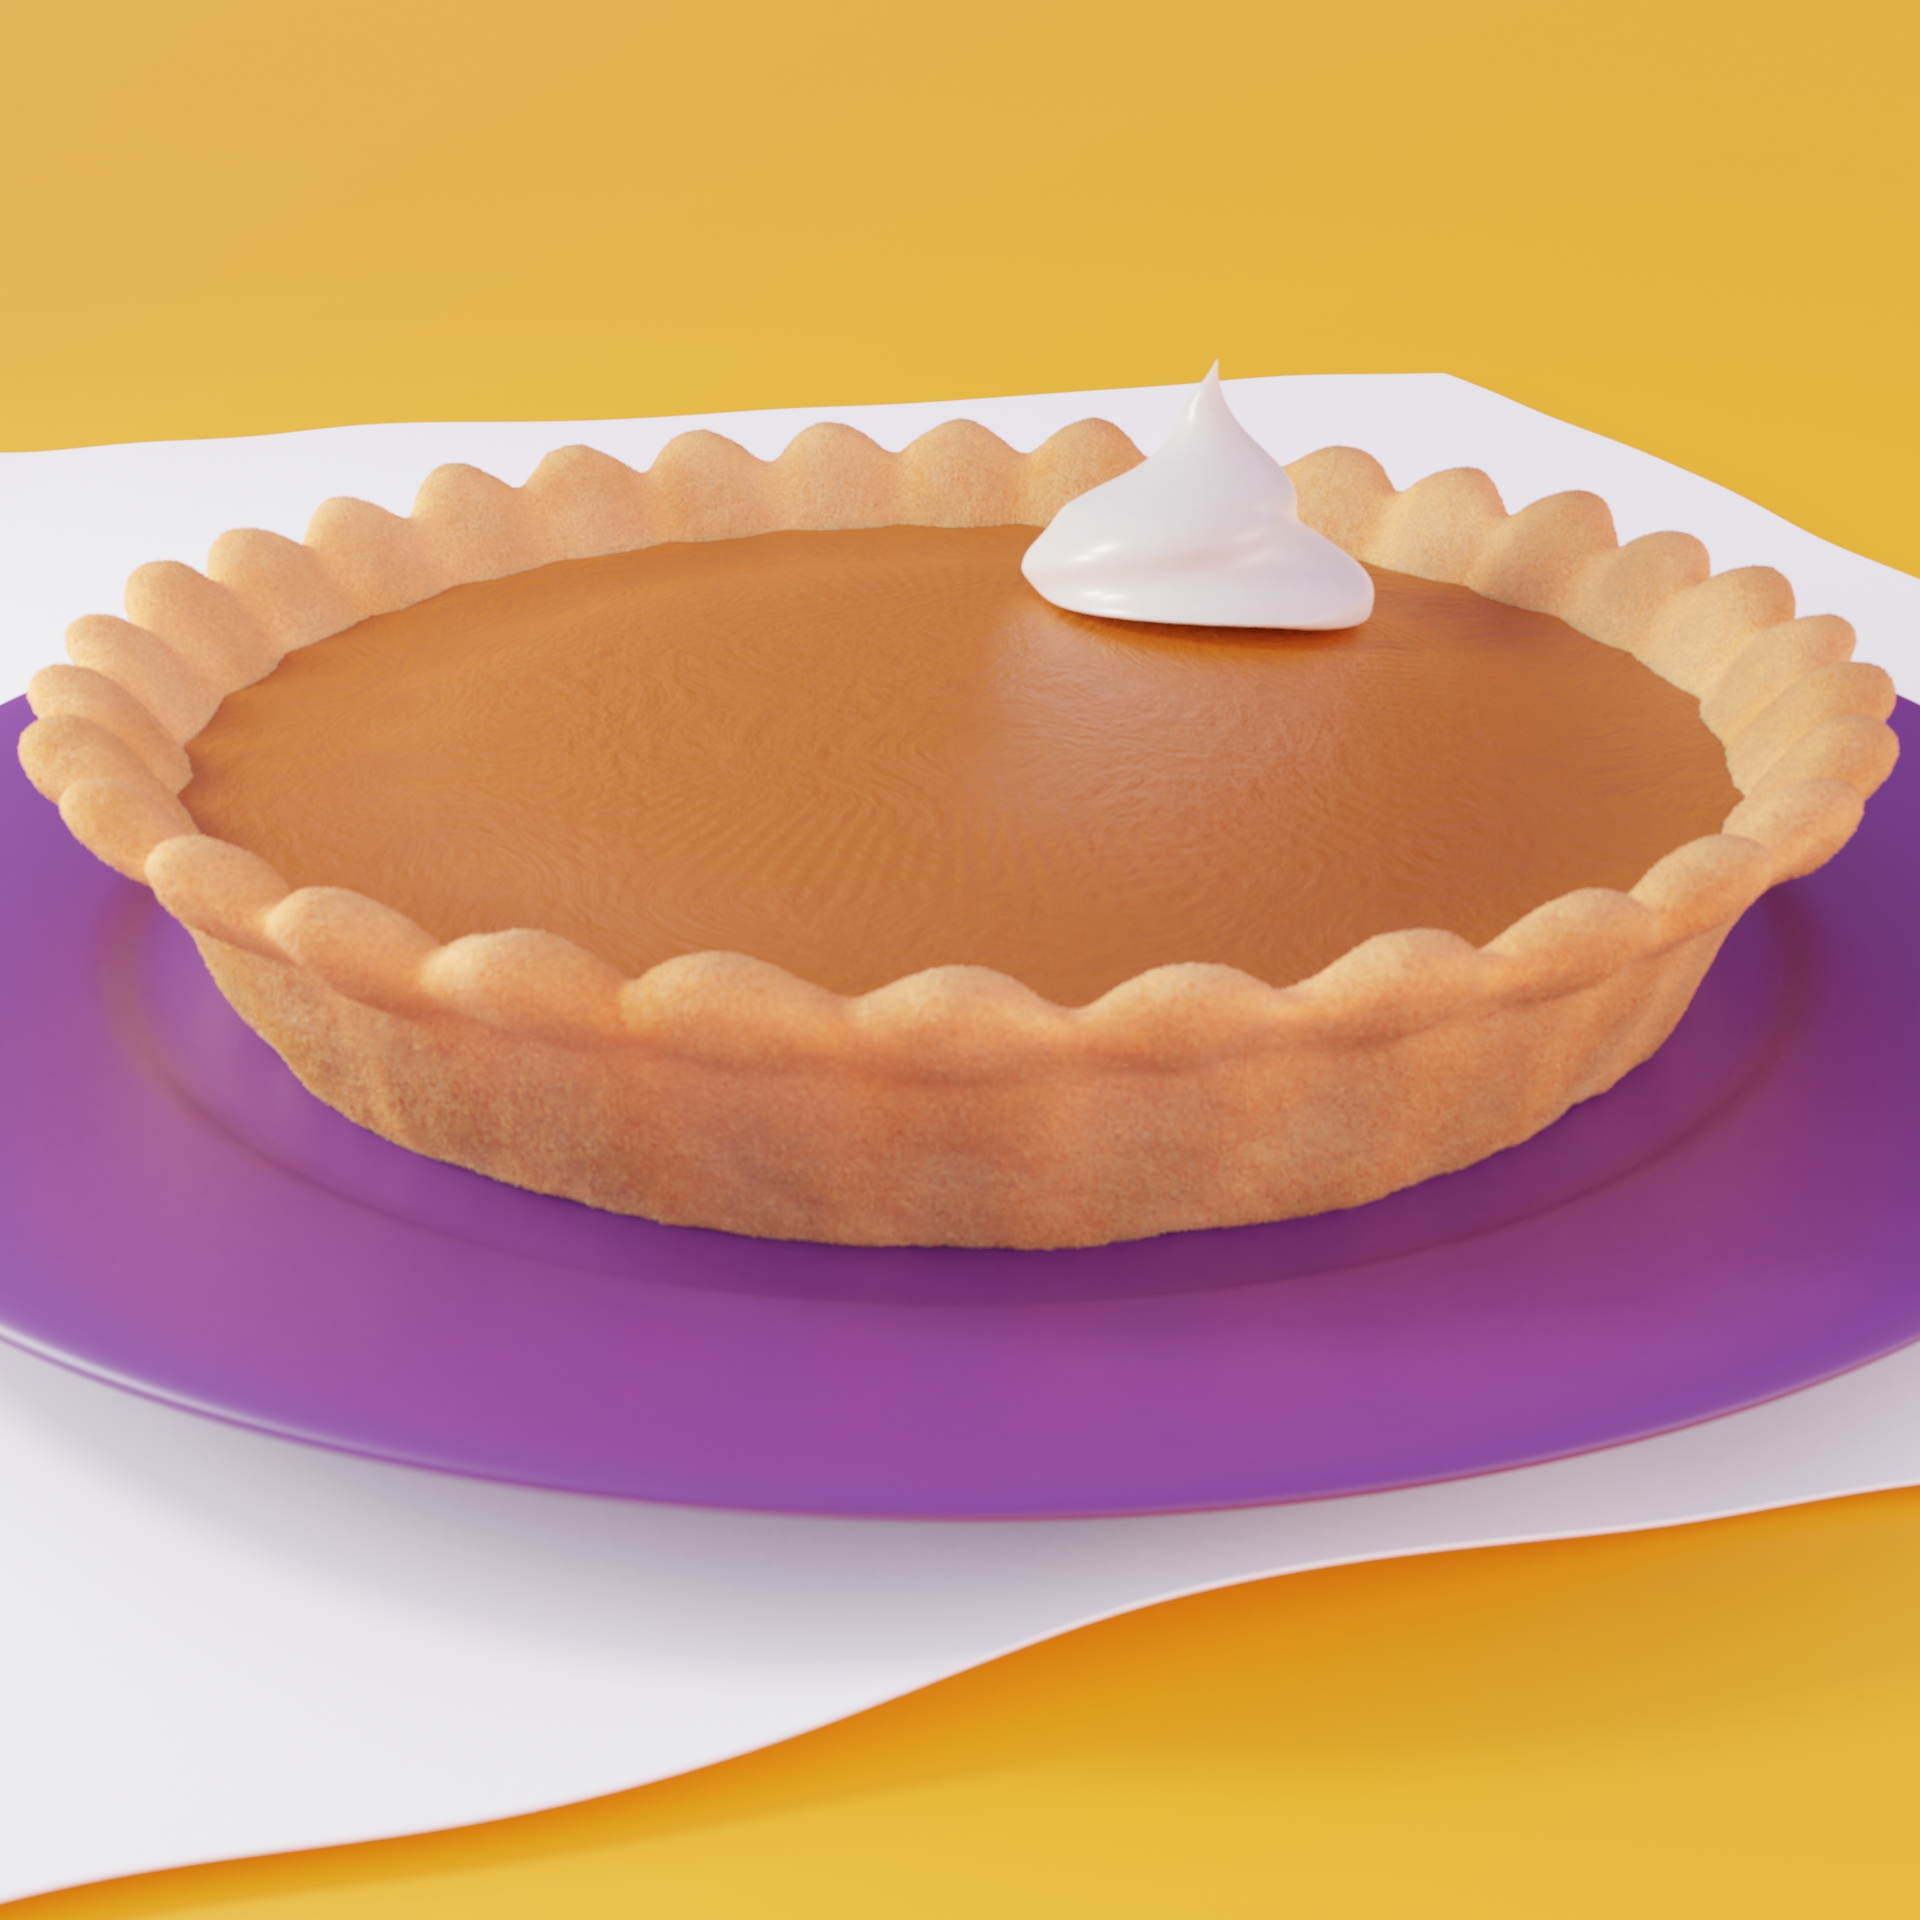
Week 4: Pumpkin Pie (Thanksgiving Special)
Suggested by Ryan Vanni
Making the pie and scene wasn’t too difficult but creating the materials was a steeper learning curve. I went through numerous iterations trying to get the pie crust looking, well, crusty. I ultimately went back to Andrew Price (Blender Guru’s) doughnut video (a classic for anyone learning Blender) to recreate the crust throught noise textures and procedural displacement maps.
For the beautiful pink sunset tints I used the following tutorial and resource.
Blender 2.8 How to setup an hdri environment background
HDRIhaven.com
The key takeaways from this 3d exercise was; rough textures are very difficult and take a lot of time, HDRI environments can give a final render a much more beautiful and stylised feel, and finally sometimes you need to use physics to get a dollop of cream to sit nicely.
Week 3: Swiss Cheese
Suggested by Brooke Cromley
This was a fun but simple one. I actually found a cheese tutorial, then added my own spin with some of the colours and textures. This was a great exercise for learning a little more about manipulating shapes by subtracting other shapes.
Make Cheese In Blender Using Boolean Modifiers [2.81]
Key takeaways from this tutorial are how to use boolean modifiers to subtract elements from a shape.
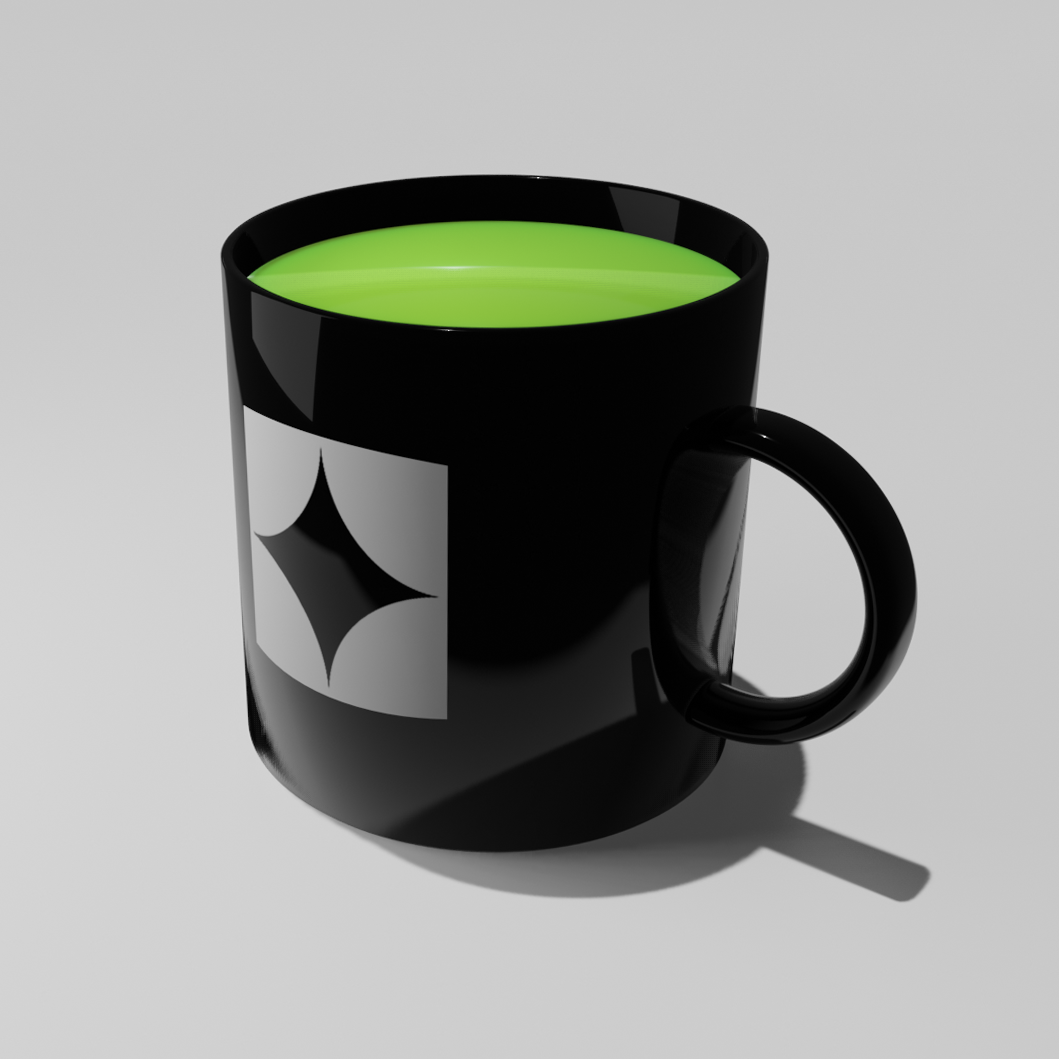
Week 2: Mug
Suggested by Justin Jewett
Modelling the mug wasn’t that difficult. I was able to create it pretty simply insetting and extruding a cylinder. I think the handle could have been a little better. It was created from manipulating a torus primitive to be flatter. I needed to look up how to add a decal to the mug as I wanted to add a character from my latest font NTF Fragma. The tutorial below helped me do so.
Blender | Add Decal to ANY Object (Eevee)
The key takeaway from this tutorial is how to apply a decal (using the shrink wrap modifier)
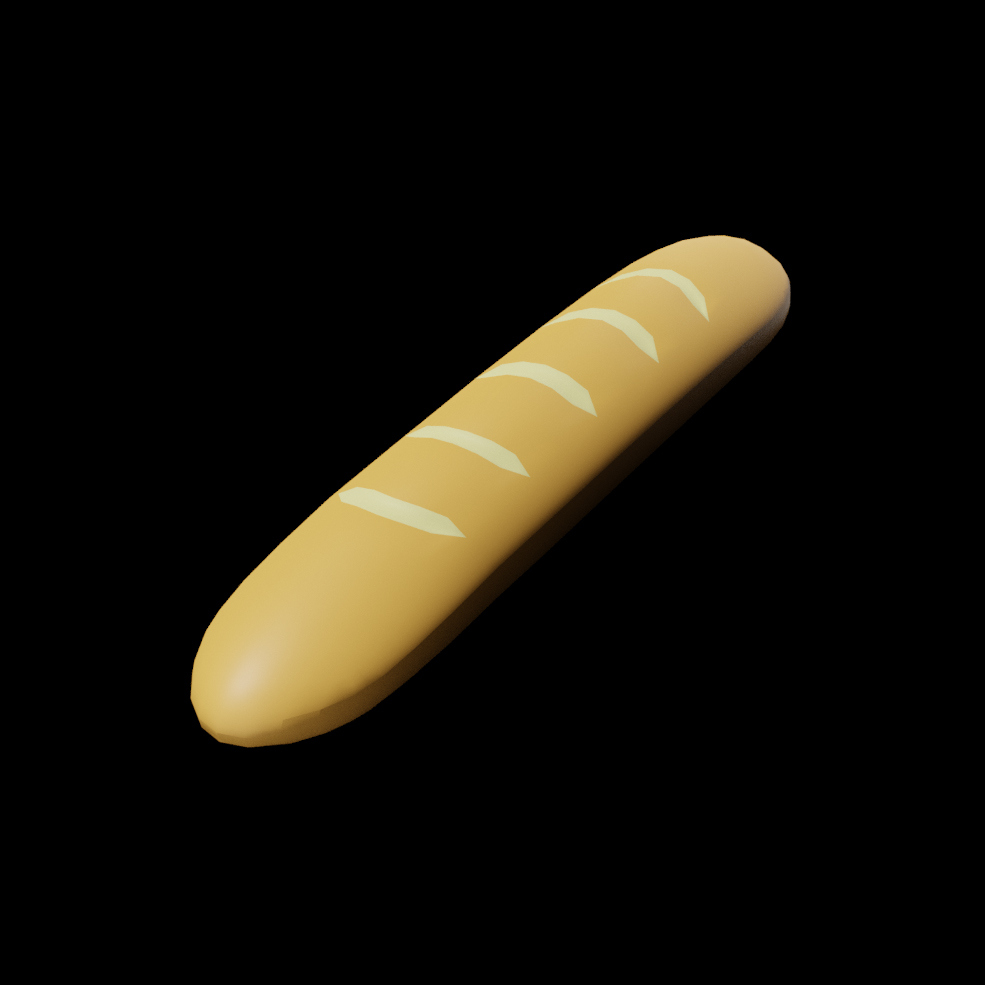
Week 1: Baguette
Suggested by Gaven Heim
Having been out of the 3d game for a while, I watched the following tutorial as a little refresher. I’d recommend it for people wanting to create simple shapes from a single primitive object.
Beginner Exercises | Part 5 | Hard Surface Modelling 1 | Blender 2.8 by Grant Abbitt
Key takeaways from this tutorial are how to inset and extrude.